BEAUTY | ST. TROPEZ BRONZING MOUSSE

Hey, friends! Can I go off on a little rabbit trail, and just tell you how bad my tanning habits were in my college days, before telling you about this amazing product? I literally would go to Toucan Tan no less than 5 days a week and tan for the full 15 minutes in the 'super beds.' And if it was summer time, I would make sure I went to the TB before going to tan at the pool and I never wore sunscreen (although I might would have argued that the tanning oil I was using had SPF4 in it). 
My biggest turning point was when our friends dad died from Melanoma. That was my reality check. I just couldn't justify going after that. So since then, I have just tried to hold on to my summer tan for as long as possible.

Insert St. Tropez Bronzing Mousse.


I had never used self tanner before, as I've heard so many horror stories and seen some pretty bad and very fake looking results. This is a photo from after JUST applying, not after letting the color set and get to it's full darkness. You can see the obvious difference between my left and right leg. St. Tropez Bronzing Mousse comes out with a sort of greenish tint, but don't let that scare you, it totally neutralizes the color so you don't look 'orange.' I also purchased the St. Tropez applicator mitt. I'm honestly not sure how necessary it is, maybe gloves or something could work? Again, never used self tanner before, but the mitt worked wonderful and has lasted me a few applications so far.


 It is not 'heavy' as it is a mousse and it smells SO good when applying. It does begin to smell like 'self tanner' after it has set for a bit, but I applied this before going to a wedding and no one noticed a smell. And even better, they didn't even realize I had a 'fake' tan until I told them and then it was all, "What?!", "Really?!", "What kind?!" I, of course, was happy to share with them and am happy to share it with you too.

Have a great Tuesday!

St. Tropez 8oz | ULTA
St. Tropez Applicator Mitt | ULTA


RECIPES | FREEZER MEALS


Hey friends! Happy Friday! Or should I say, Fri-YAY! 'YAY" because I am linking our most favorite freezer-friendly meals for you, and myself, because I always end up staring at Pinterest trying to remember what my family likes to eat. So, now I can have them all in one spot to visit anytime I need to, and so can you!
Freezing meals is something I started doing when I was pregnant with London. She was due in late December and I knew I would not want to be dragging her out in the freezing cold to go to the grocery store to cook. Every fall, ever since, I continually double up on my groceries to make twice as many meals. I cook 4-5 days a week, so that means each week I am making an additional 4-5 freezer meals. You do that for two months during the fall, you'll have 32-40 frozen meals! To put it in better terms, that means you wouldn't have to cook for a WHOLE MONTH+! 
Let me add, this is not one of those '50 freezer meals for under $100' thing. In our house, we choose to eat organic which is not exactly budget friendly. Trust me, you do NOT want to know what our grocery bill is each week for our little family of four. I also don't do these all at once. I double my recipes as I go. It makes it less stressful and they add up quicker than you may think.


STORING & ORGANIZING

Thankfully, we have a deep freezer in our garage that can store most all of our freezer meals, depending on how many I make and how many of them are in bags or foil pans. I try to make it a habit to put the newest prepped freezer meals on the bottom but only AFTER they are already frozen. Typically, I freeze them for a day in our regular freezer, and then transfer to the deep freezer. If you put freshly prepped meals on the bottom of all of the heavy frozen meals, you'll end up with a busted bag or squashed pan.
To keep up with our meals, I have a notepad of all the meals written down with tally marks of how many of each meal, along with the month and year it was prepared. That way, I can take a quick look and see what needs to get eaten first and what I have without having to dig through the freezer.

FREEZING TIPS
(Nothing really special, but if you are new to this, you may find it helpful.)
SOUPS:  I prepare and cook the soups completely, let cool to room temp, double bag them using the Ziplock Gallon Freezer bags and then right the instructions with a sharpie on top. If it is something like Chicken Noodle Soup-I will cook the noodles the day I plan to actually eat the soup, and then stir it in.
CASSEROLES/LASAGNA: I prepare according to the instructions but do not cook. Then when I am ready to have the meal for dinner, I will completely thaw it and cook it according to the recipe instructions. I freeze them in the foil casserole pans, wrap in foil, and then cover with plastic wrap.
PIES: I freeze the filling and when ready to eat, thaw completely, place in a dish with the crust, and bake according to recipe instructions.
CROCKPOT MEALS: I typically just throw all of the ingredients in to the Ziplock Freezer bag, double bag, and freeze. Then you can either prepare from frozen by cooking longer or (what I always do) thaw and cook according to recipe instructions.
BUFFALO CHICKEN FINGERS (listed below): I prepare right up until you put them in the oven, place in freezer bags. When I'm ready to make them for dinner, I thaw them completely and bake according to recipe instructions. I also use Franks Buffalo Wing Sauce instead of homemade.

RECIPES

Slow Cooker Sweet & Spicy Pineapple Salsa Chicken
Chicken Pot Pie
Olive Garden Pasta E Fagioli
Chicken Noodle Soup
Vegetable Soup
Slow Cooker Honey BBQ Sandwiches
Unstuffed Cabbage Rolls
Homemade Chili
Slow Cooker Fire Roasted Creamy Tomato Chicken
Baked Ziti
Vegetarian Chili
Vanessa's Make Ahead Beefy Lasagna
Jo Mama's World Famous Spaghetti Sauce
Slow Cooker Sweet & Sour Chicken With Pineapple
Cajun Chicken Pasta
Buffalo Chicken Fingers

I hope you find these recipes to be as delicious as my family does. Over time, I have come to make my own little tweaks here and there to these recipes, so if you have any questions or concerns, please don't be afraid to leave a comment with your question here or on the original blog post.
Enjoy!


First Week as a Mommy of Two

Wow. Wow. Wow. 
What a week it has been. The days have been so so long but I can't believe Madison has already been in the world for a whole week. I plan on sharing her (very short) birth story soon, but I wanted to share how my week has been. Mostly as something for me to come back to and laugh at later.

I'll start from Day 1
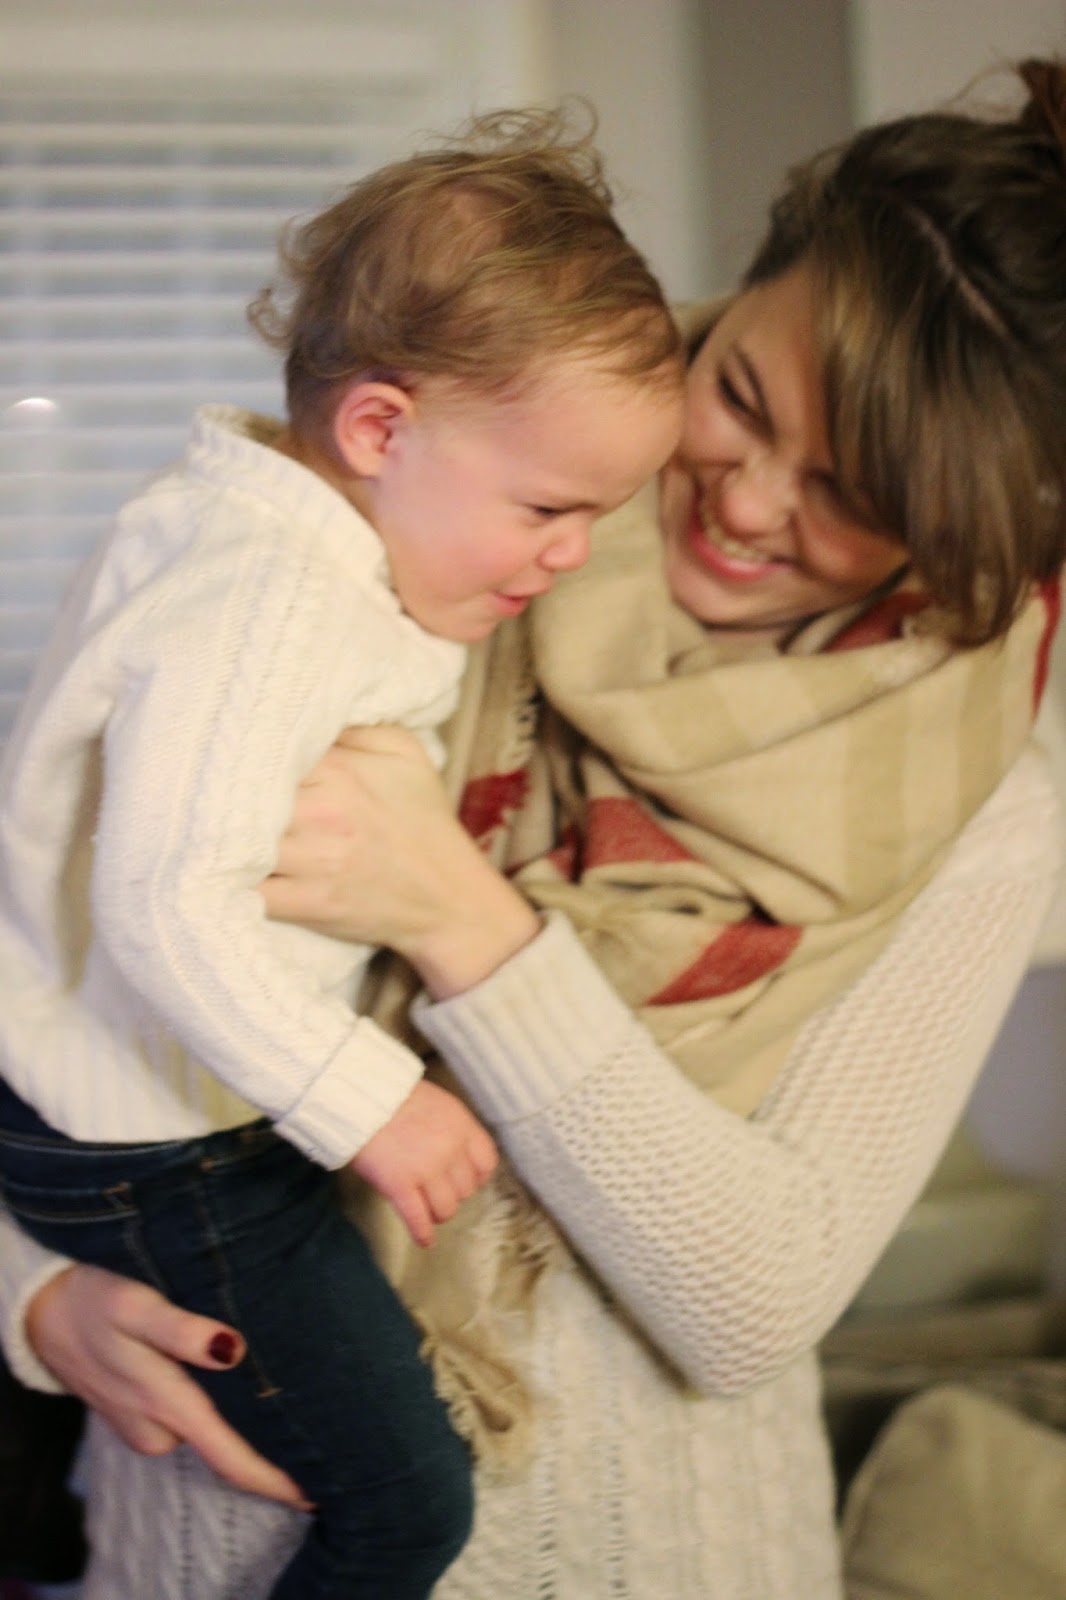
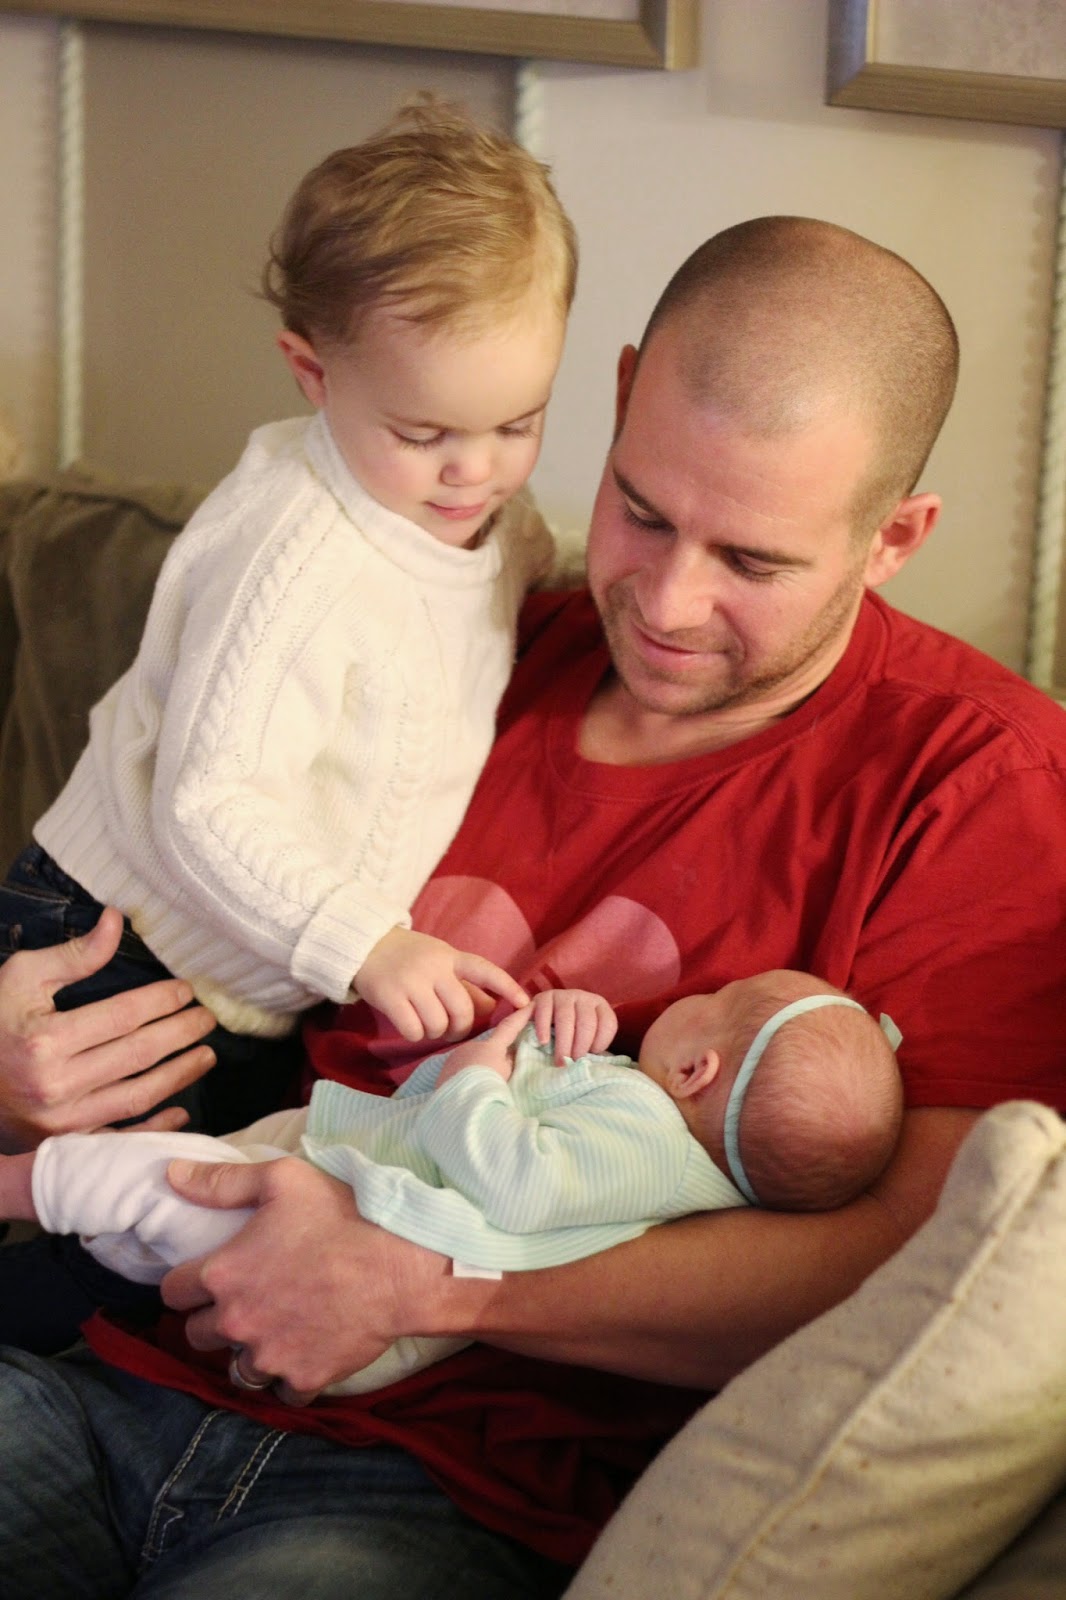
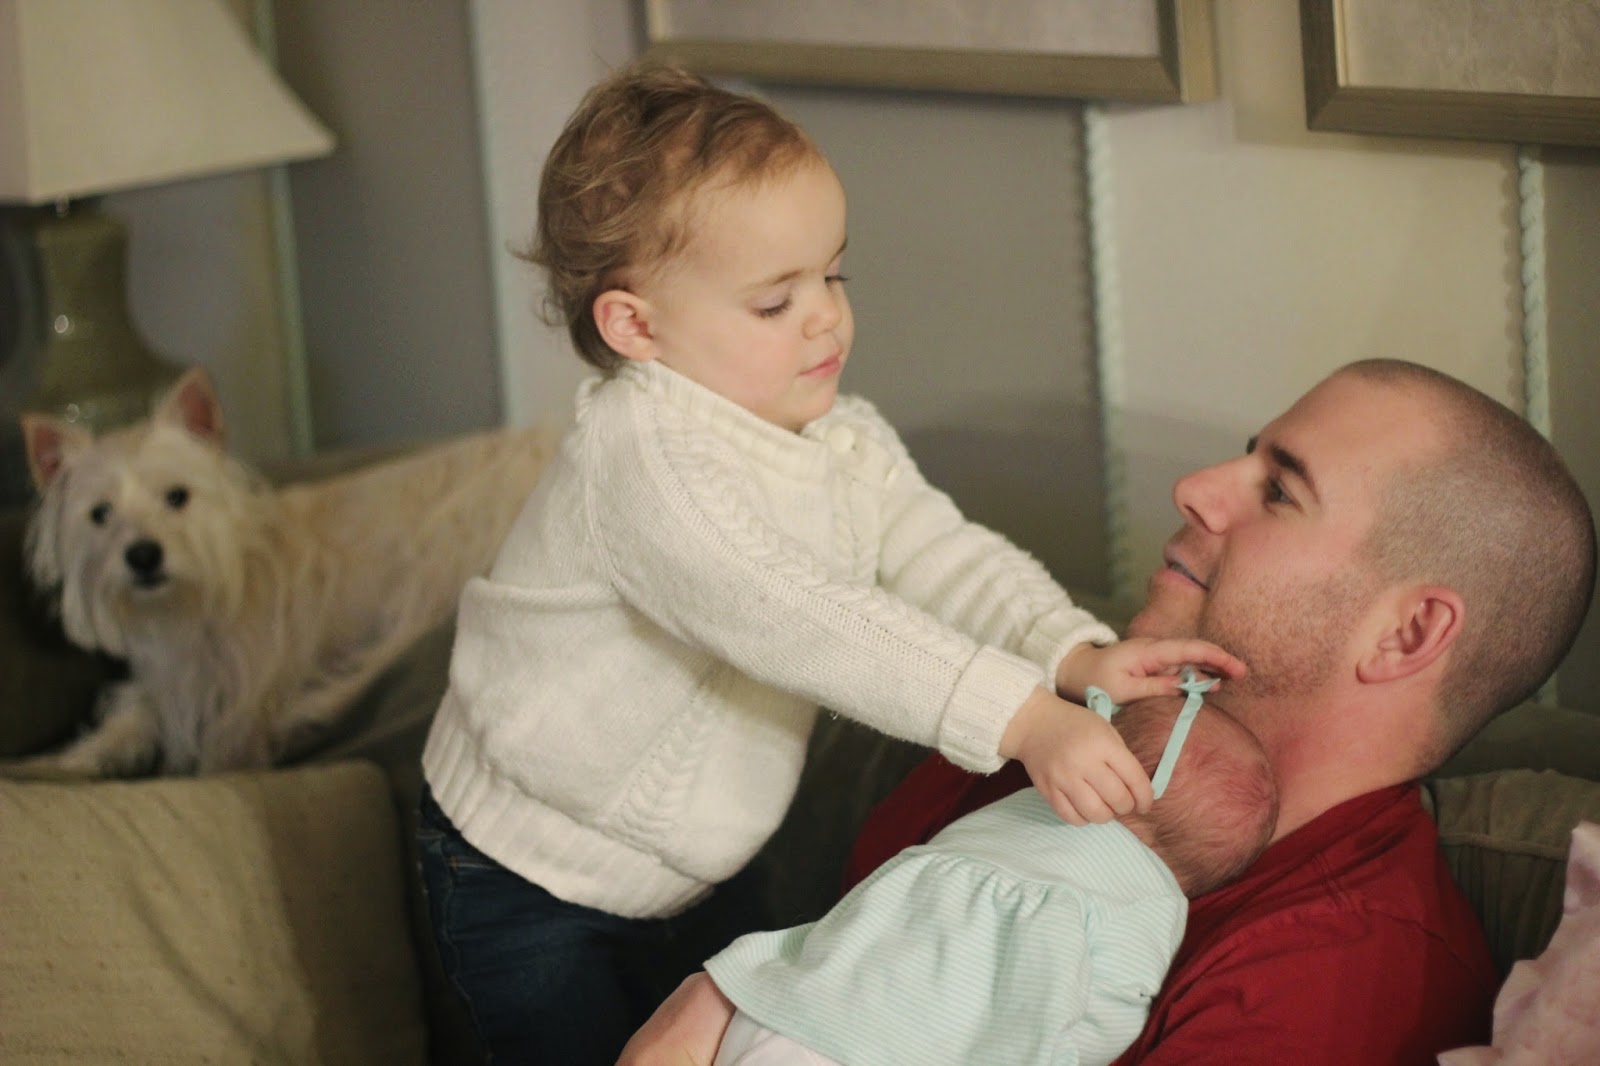
Madison came home February 23rd, the day after she was born, and London came home from my moms the day after to meet her sister. As you will be able to tell from the following pictures, London loves her sister. SO much so, that she constantly wants to hold her, gets all kinds of giddy when she sees her after a nap or in the morning, gives her kisses, hugs, and touches her head all the time. But it has also caused her to act out when we won't let her hold her baby sister because she's sleeping, or needs to eat, etc. And then the acting out can lead to her waking up Madison, which leads to this mama almost loosing her mind. Jason and I are both learning how to deal with it. Obviously we want her to WANT to be involved with Madison, but teaching her not to act that way because she isn't getting what she wants is the key thing. But she is a GREAT big sister and we love her and all the sass that comes with her. This night we let London stay up late and we popped popcorn and rented Big Hero 6 (which she had zero interest in) to make her feel special and know that just because there is a new baby in the house, mommy and daddy can and want to still do fun things just for her. 


Day 2: 2/25/2015

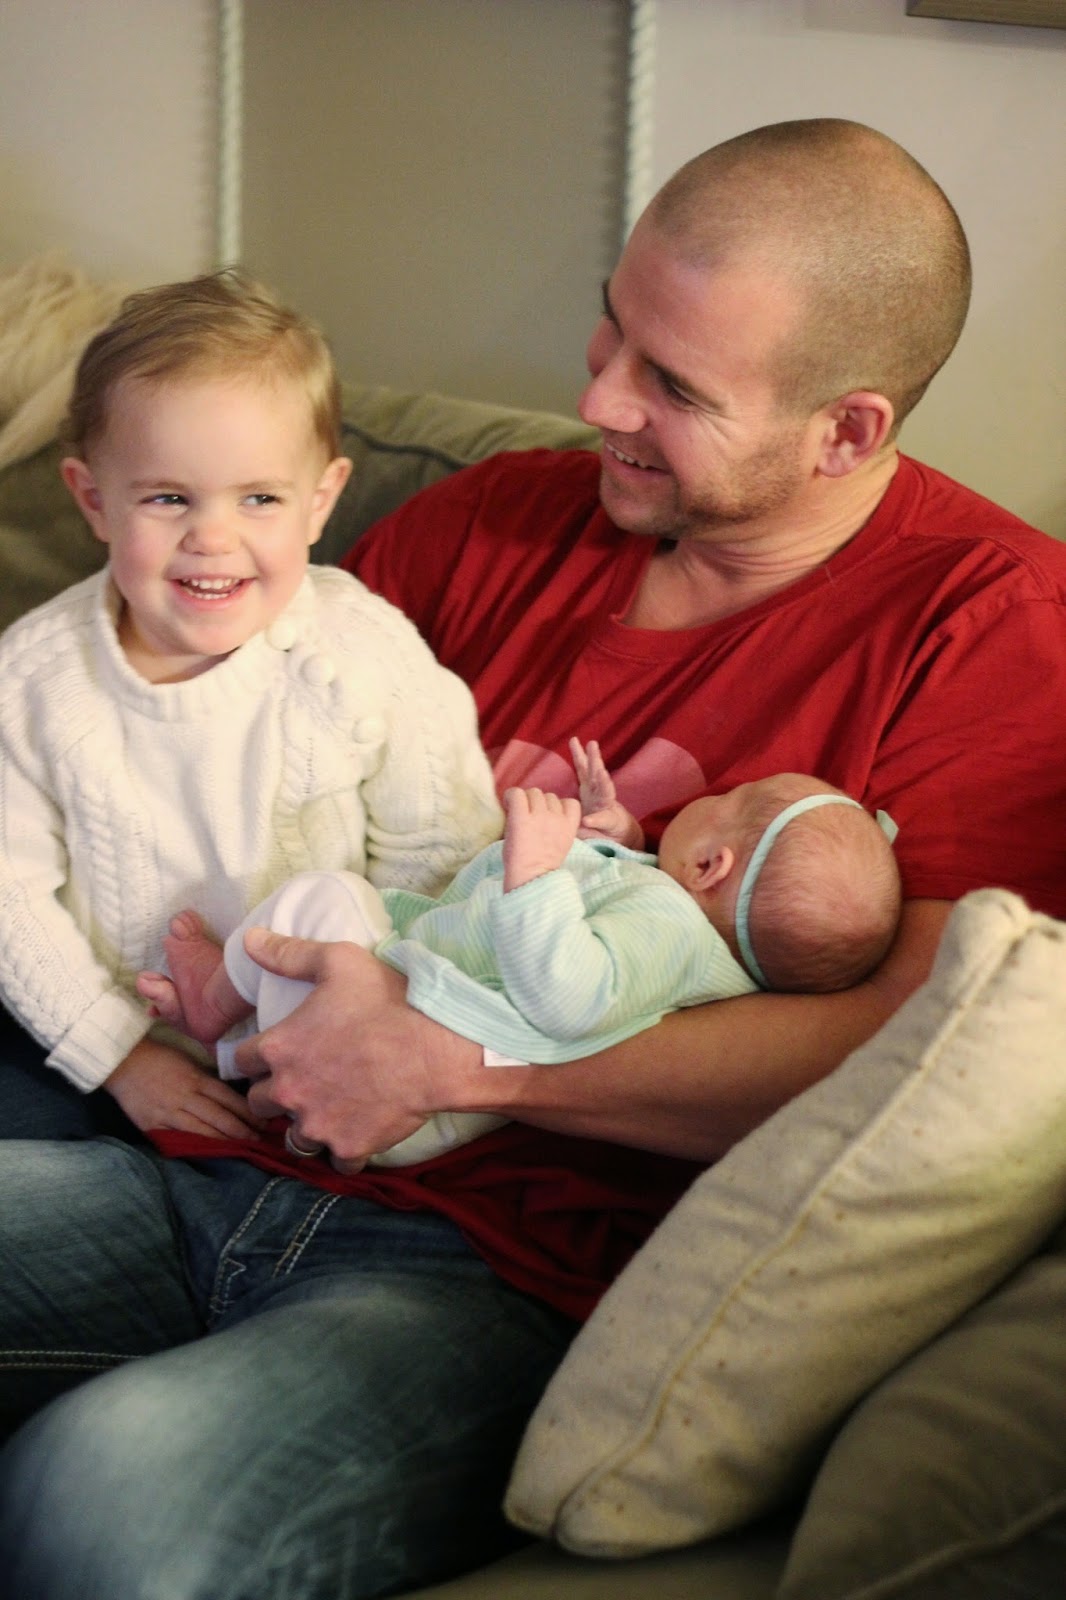
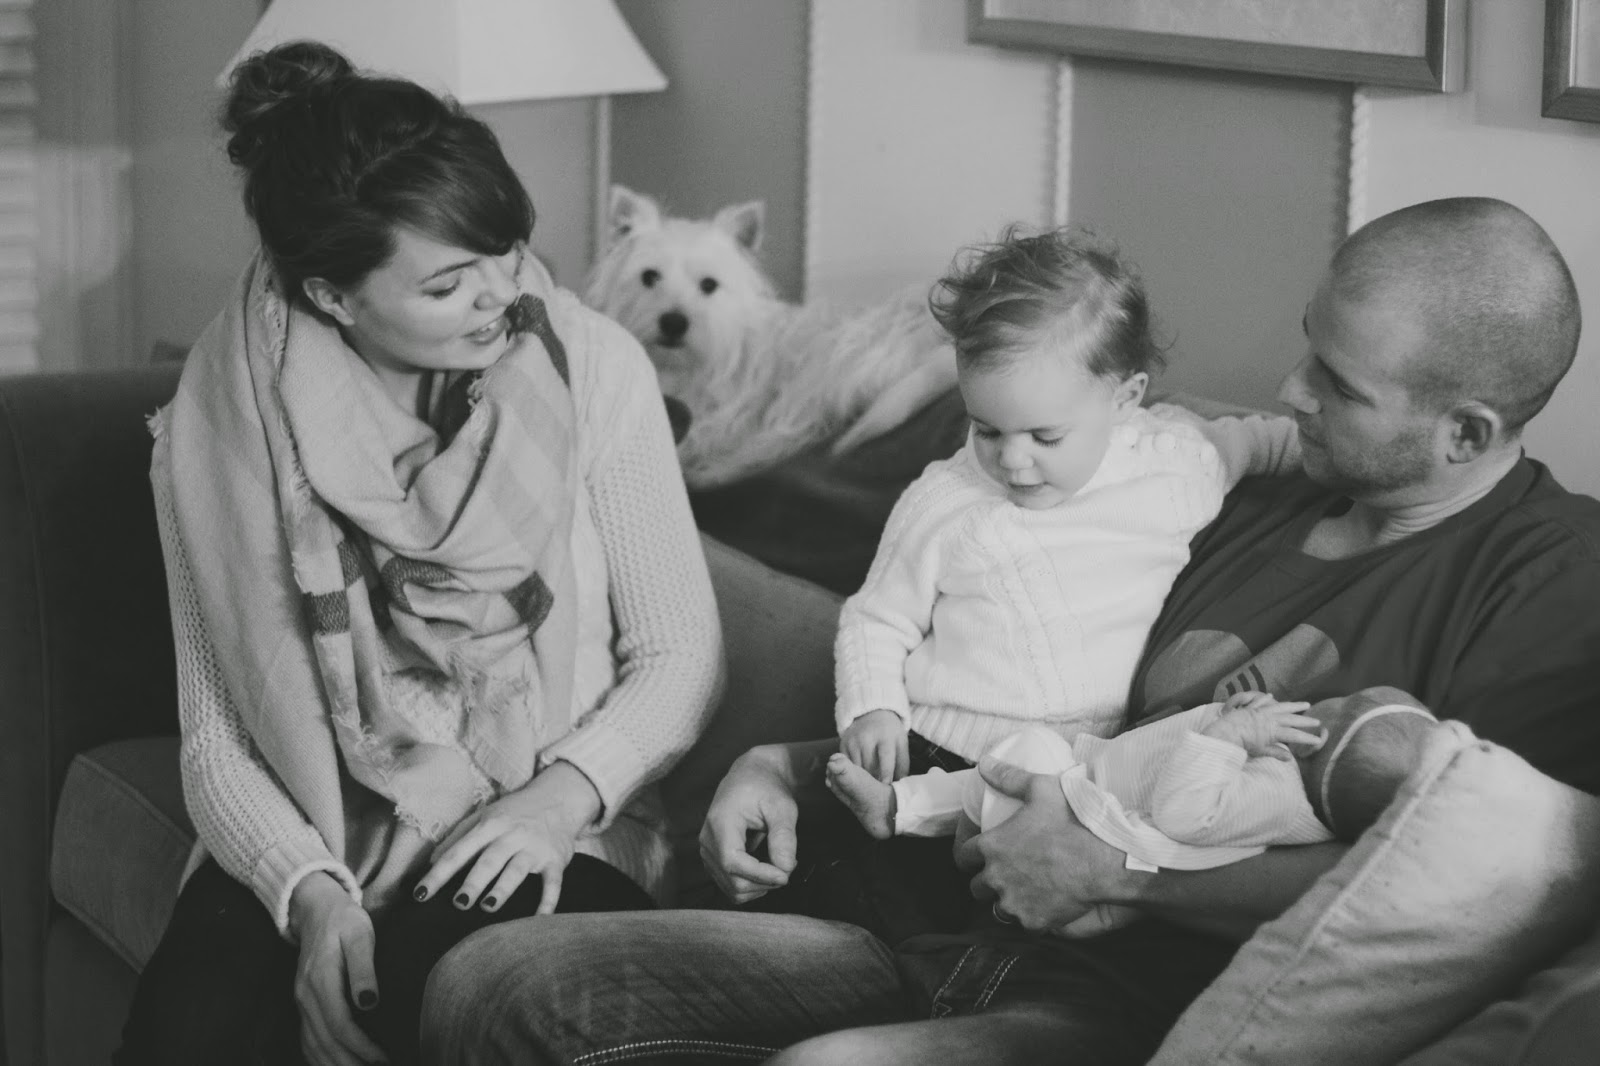
This was our first FULL day having both girls at home. I am so thankful Jason was able to take two weeks off of work to be home with me. We didn't do much this day. We certainly aren't wanting to take Madison anywhere at this time, and since I'm breast feeding and she eats all. the. time, I'm pretty much stuck at the house too. But this day, nobody went anywhere. We just enjoyed being at home together finally and are all trying to get used to our new norm. 
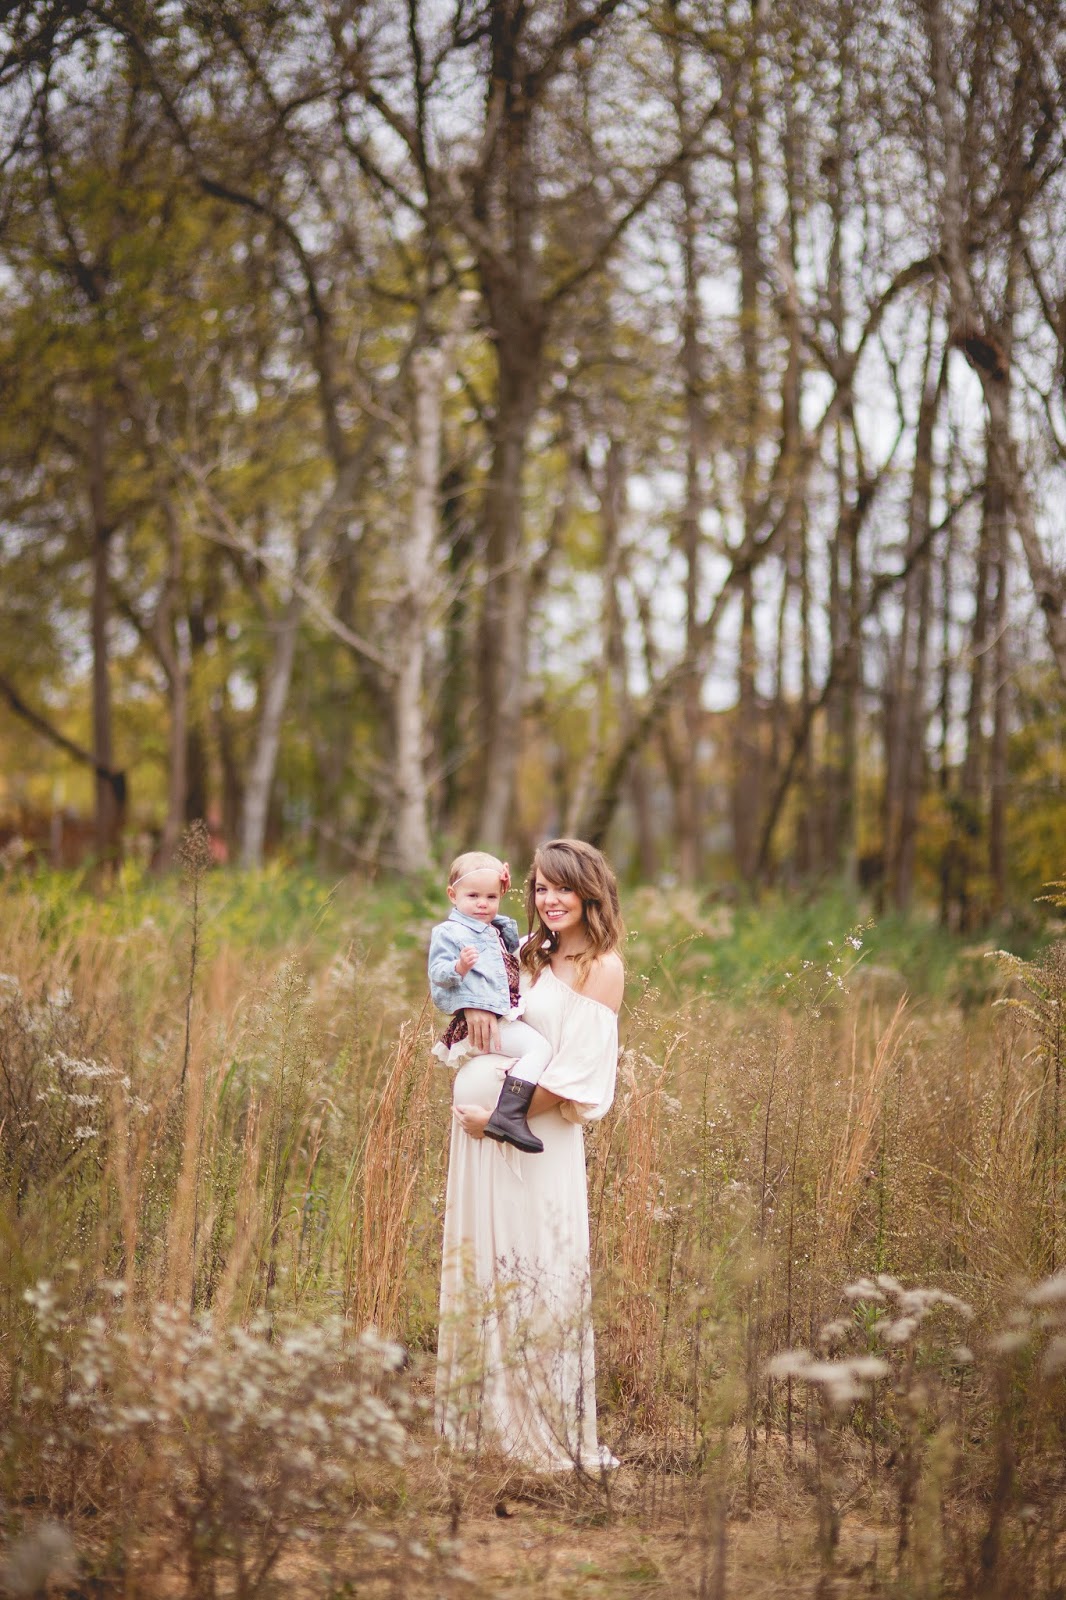
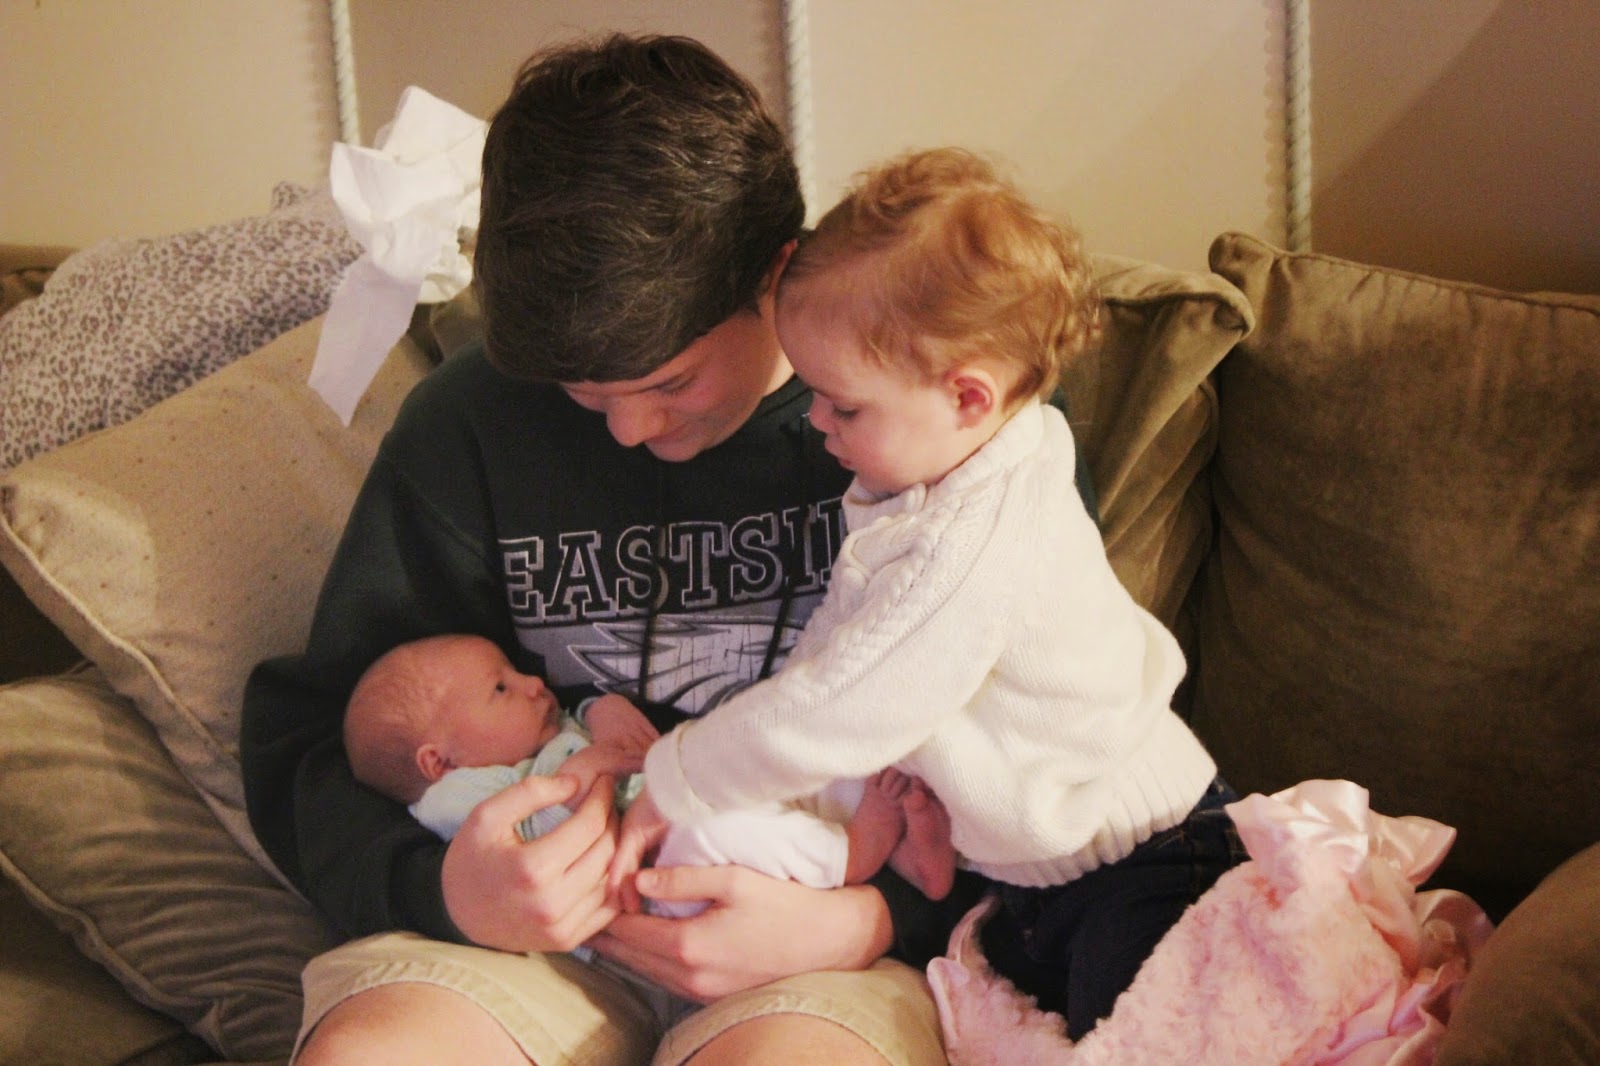
I of course wanted to snap some sweet pictures of this sisterly love.


Day 3: 2/26/2015

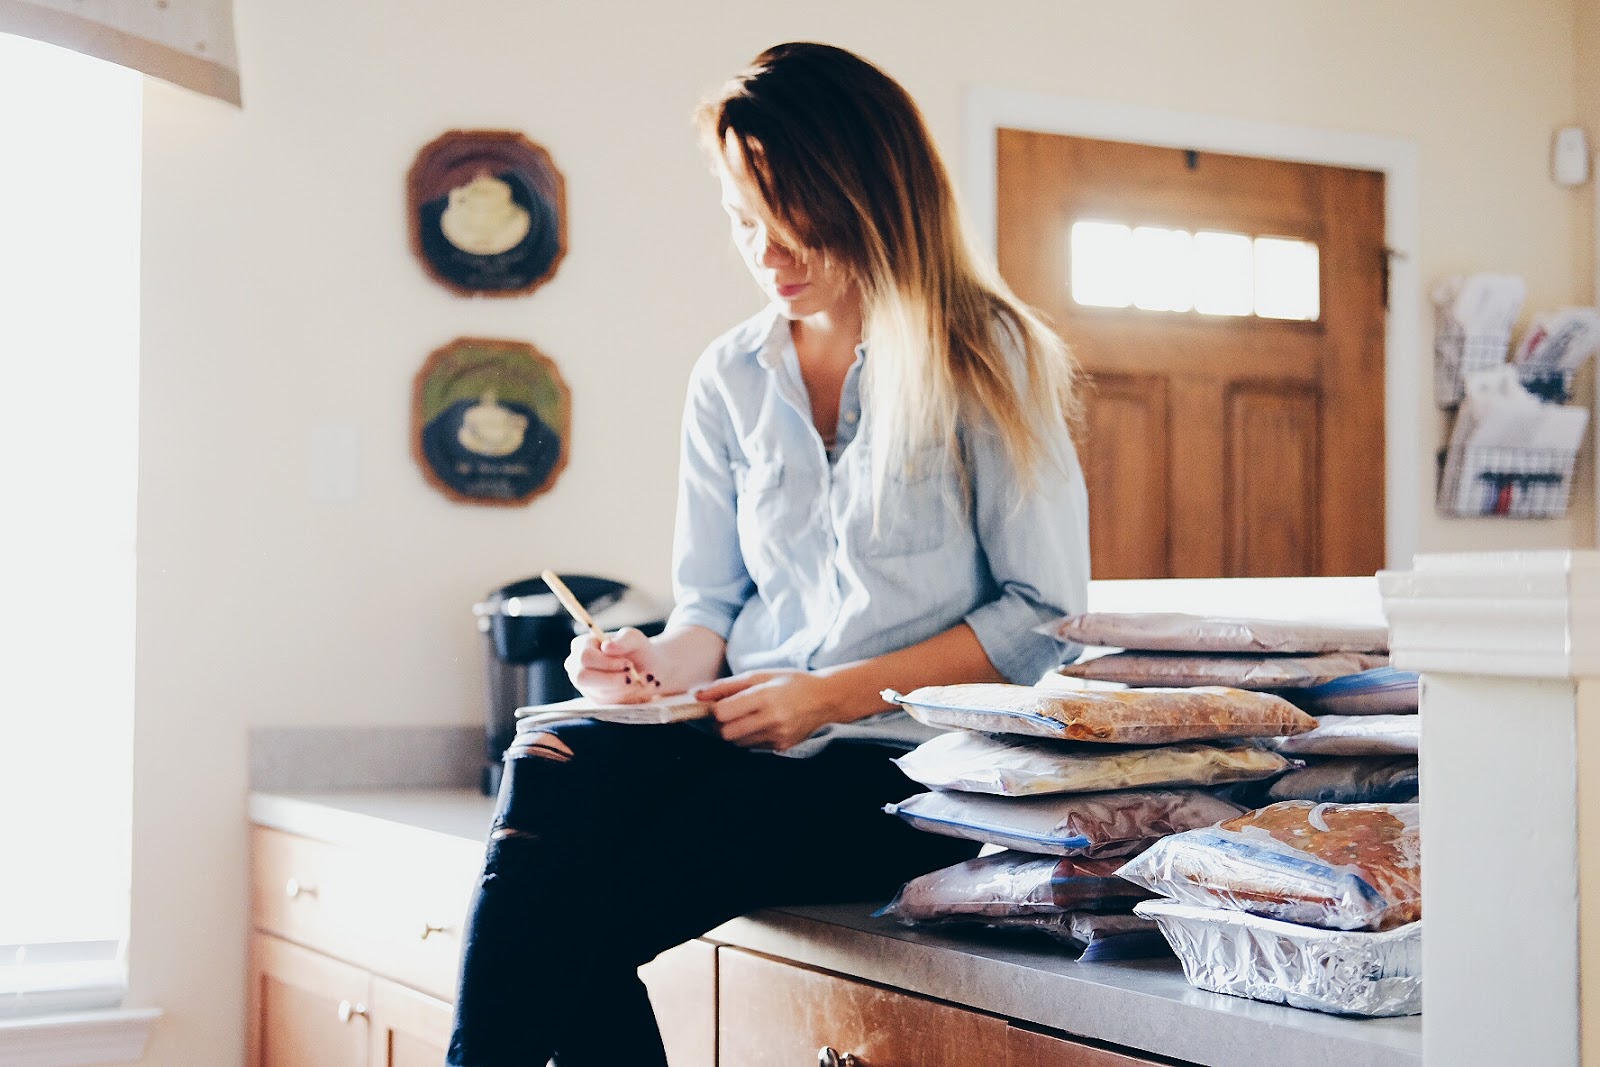
Today Jason had to go in to work for just a few hours to take care of some things, which left me at home with both girls by myself. Pretty soon after Jason walked out the door, a little after lunch time, I whipped out the paints and play doh for London. I know she enjoys those things and Im trying my best to make sure she does things she enjoys among the chaos of a new baby. She began painting a picture beautifully, not making too big of a mess but I expected SOME mess. It is paint after all. And making messes is good for a toddler. I attempted to put Madison in her mamaroo for a bit but it didn't last too long, so hold her I did until she fell asleep. I told London I was going to go lay Madison down and then was hoping for some sweet 1-on-1 time with her. By the time I came out of the room, London had poured, what I thought was a far enough out of reach red bottle of paint, out on to the table. All of it. Because it was everywhere, I had to throw out her paper she was painting on, which led to a break down from London, which led to her waking up Madison, which led to both girls crying while I am trying to clean up red paint. I managed it. But it immediately called for a movie for London so I could calm my nerves. I told Jason to bring me home a coke-icee. He did.
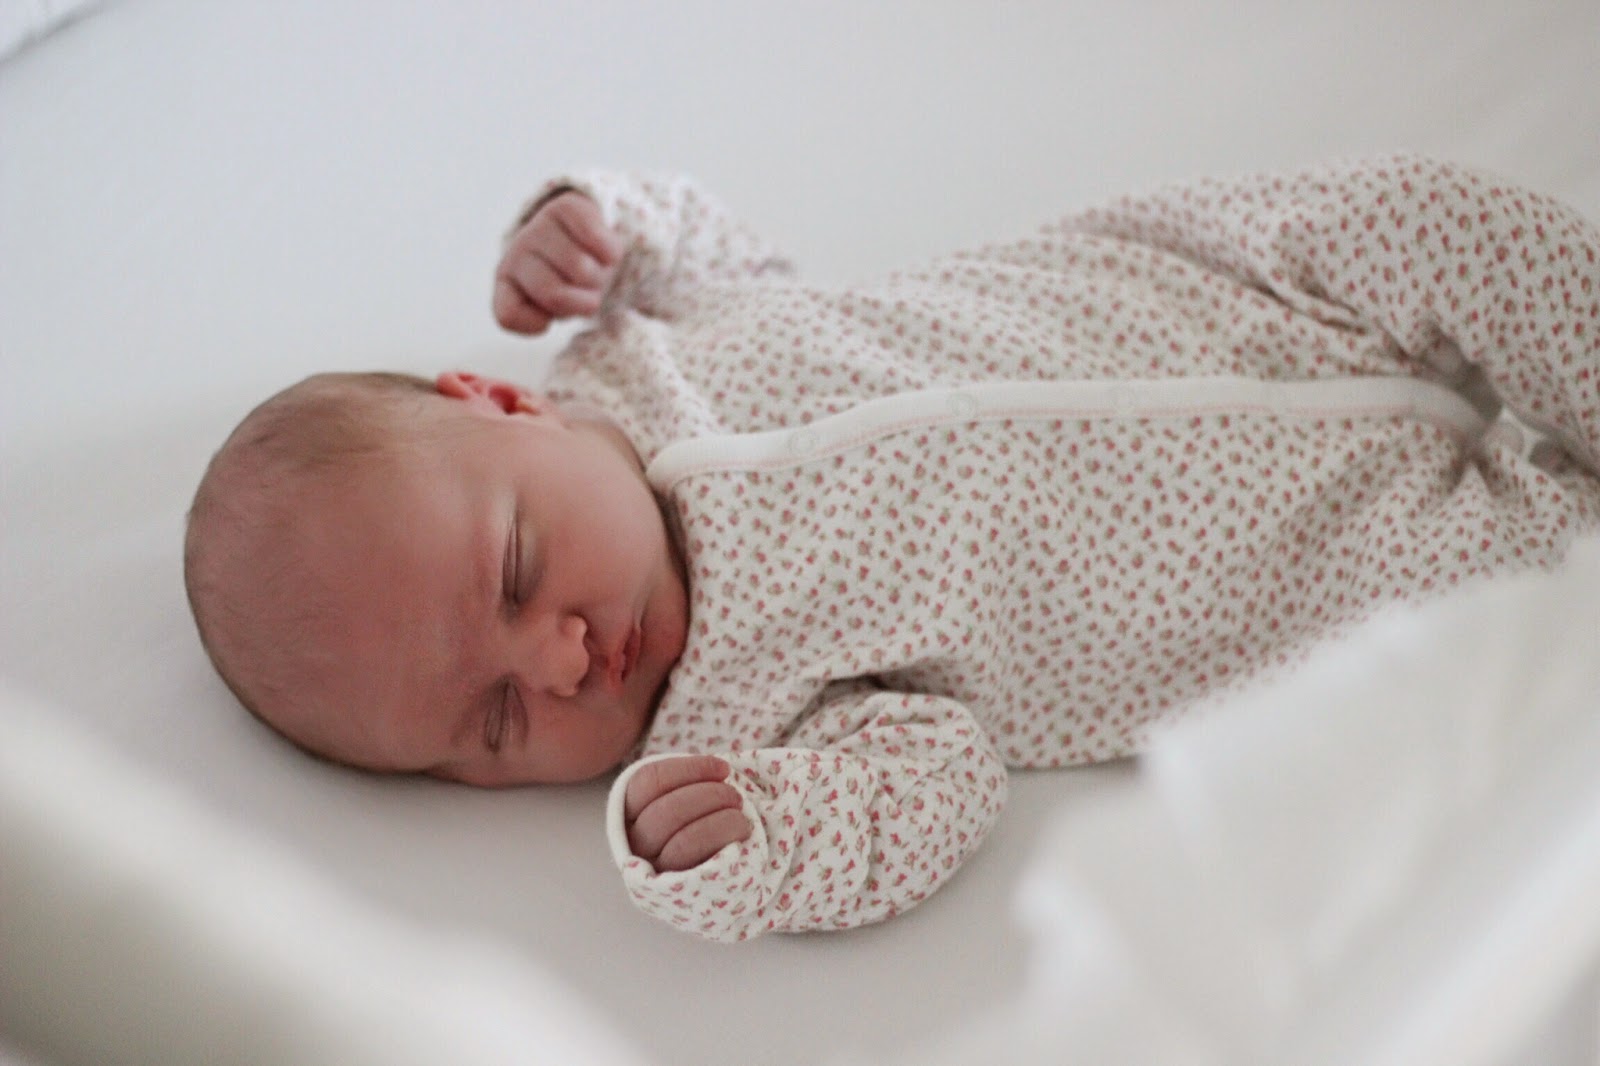
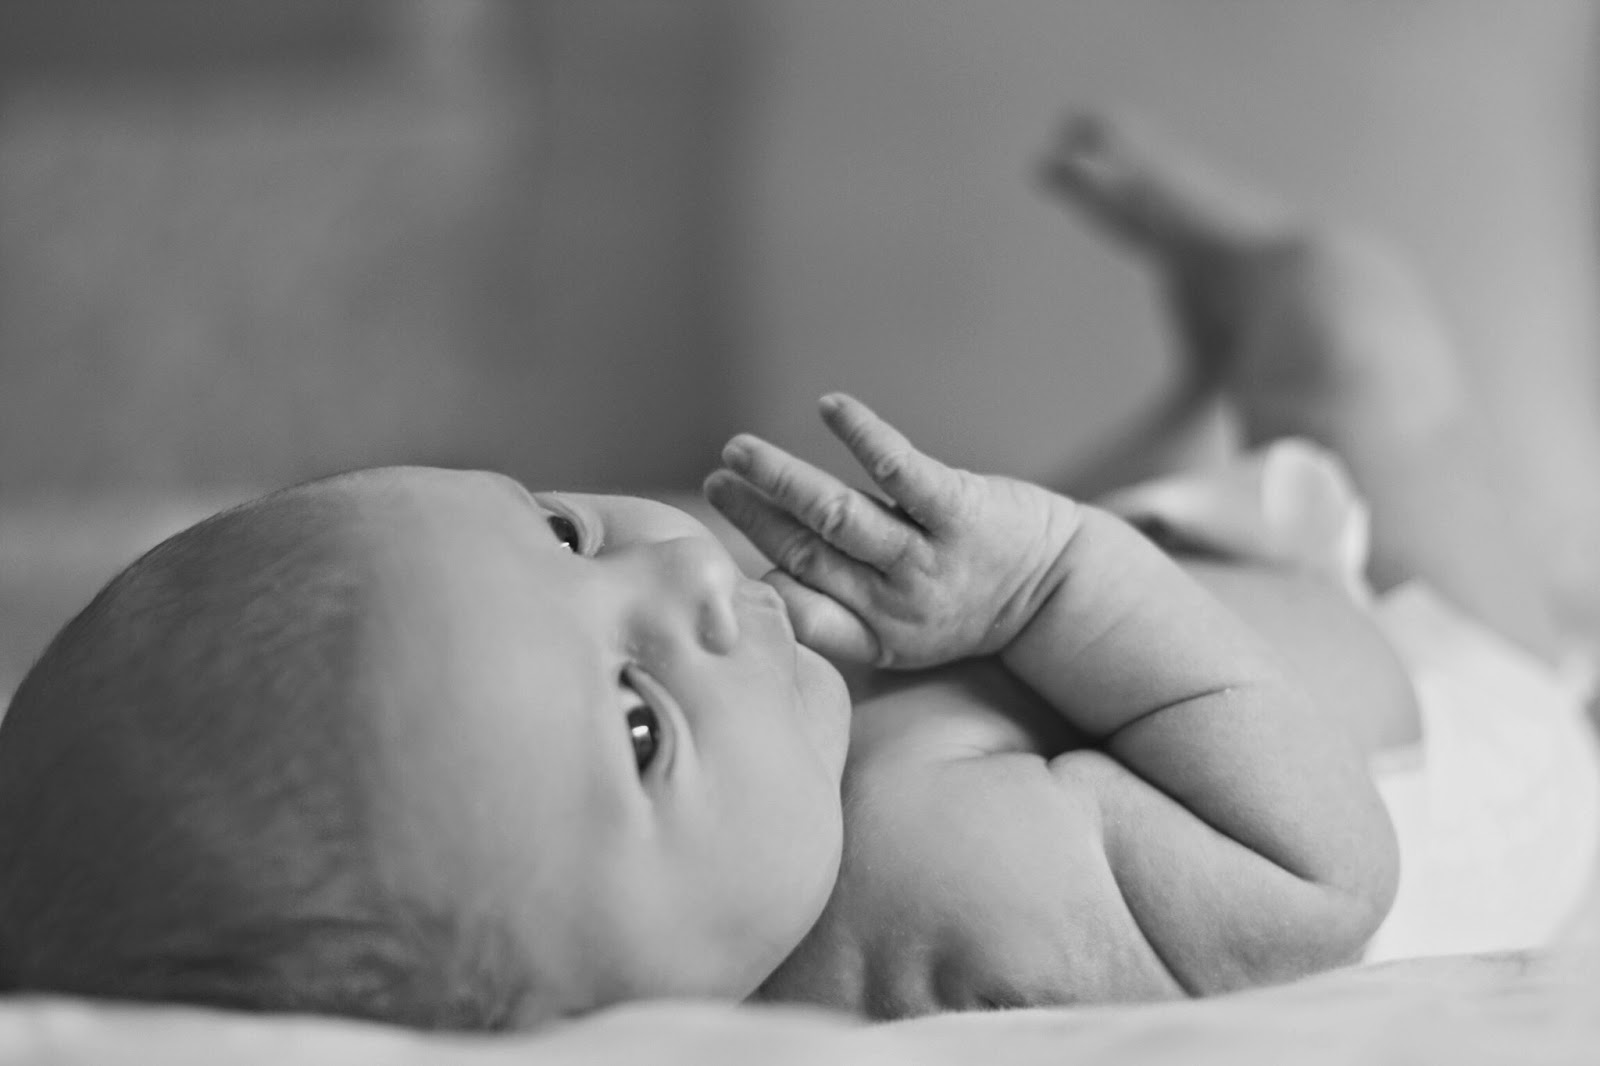
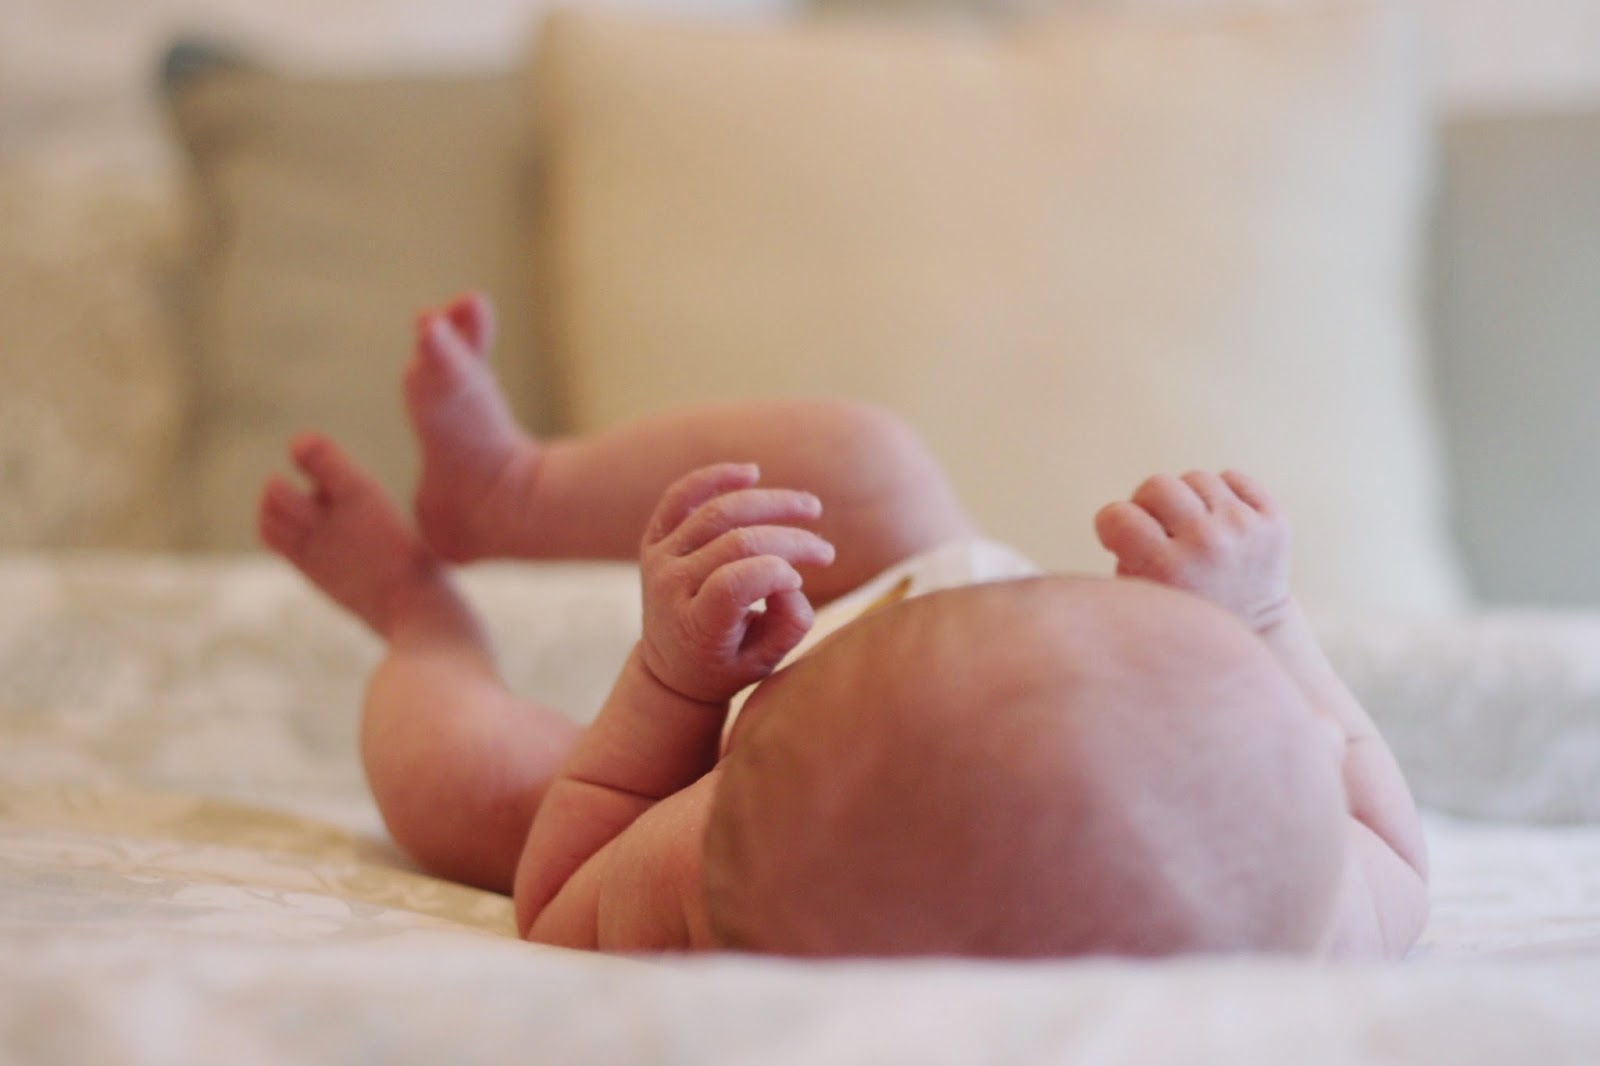
This day I was feeling super thankful for baby Madison, specifically around 3:30 when I was able to get both girls down for a nap at the same time again. Whoo! She has been a super easy baby in terms of not having to be held all the time (like her big sister was). She took a 2-3 hour nap in her little cuddle cove of her pack play (when London was a baby, she would not sleep on her back. You either had to be cradling her or she had to be on her tummy). After I was able to lay her down for a nap, I was able to rock London and get her down for a nap too.
These are a few photos of Madison napping that evening. Jason had taken London to guys group.


Day 4: 2/27/2015

Today Madison had to go back to the pediatrician, just for a weigh in. Her first trip to the pediatrician was the day after we came home, which we had to do in order for us to be able to leave the hospital early. At birth, Madison weighed 8lbs 7oz and that Tuesday she weighed 8lbs and by today she weighed 8lbs 9oz. Home girl gained 9oz in 3-4 days!! So we don't have to go back till her one month check up now.
Later today Jason and London spent some time outside and went to the playground. Missing out on sweet moments like that make this mama sad. I was already away from her when I took Madison to the pediatrician, and then away from her again when they went and played. I know its good for her and selfish on my part to want to keep her with me all the time, I just know time goes by super fast and I feel like Im missing out on so much. So this evening, when madison was asleep when it was time to put london to bed, I went upstairs to rock her which i was so excited about because I hadn't been able to since Madison was born. We began singing songs and as we were singing Old Macdonald and London was picking out each animal, singing along with me, I began to cry. The kind of crying where you can hardly talk. She just seemed so big to me in that moment, especially compared to her newborn baby sister. Wasn't she just that small yesterday?! I wish I could bottle up every second of every day and be able to open them up anytime I want to. I guess thats  somewhat the point of this blog, even though Im terrible about posting, but thats way off subject so anywho, as I was saying…we were singing, I was crying, and then I heard Madison crying and Jason bringing her upstairs. I managed to cut off the water works so he wouldn't see, I hate looking like an emotional train wreck, but as soon as I walked out the door and he took my place to finish rocking London, all ugly cry broke loose. I hated leaving her, and I can only hope that she doesn't think I am CHOOSING Madison over her, but I know she doesn't understand that this is how it has to be right now since Madison is breast feeding and mommy is the only one who can feed her right now. It will get easier, I know, but right now…its hard. 

Day 5: 2/28/2015

Today was an easier day. Madison was going to already be a week old tomorrow. Isn't so crazy how the days just drag on and on and sometimes you just wish they'd be over already! But then before you know it a week, a month, and year has gone by. Im trying to remind myself of that every day, and to not wish for any amount of time to speed by, and to find joy in every moment. Even the difficult ones where you think you're head is going to explode.


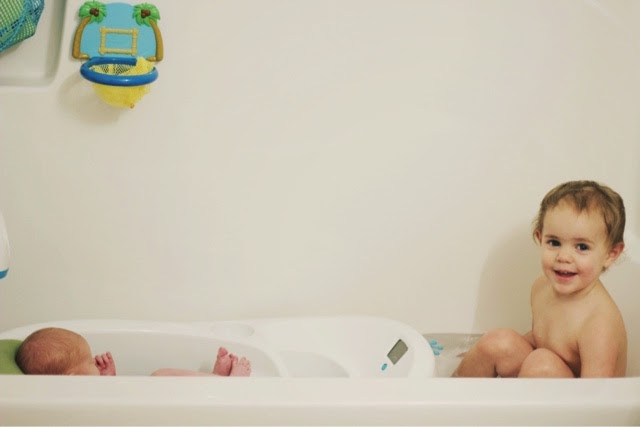
We also attempted to give both girls a bath together this evening. It was Madison's first time in the tub (her umbilical cord was not in the water, no worries) and she was not a fan. So the double bath was not a success. But one day those will be fun. I hope.


Day 6: 3/1/2015

HAPPY 1 WEEK DOLLY BABY


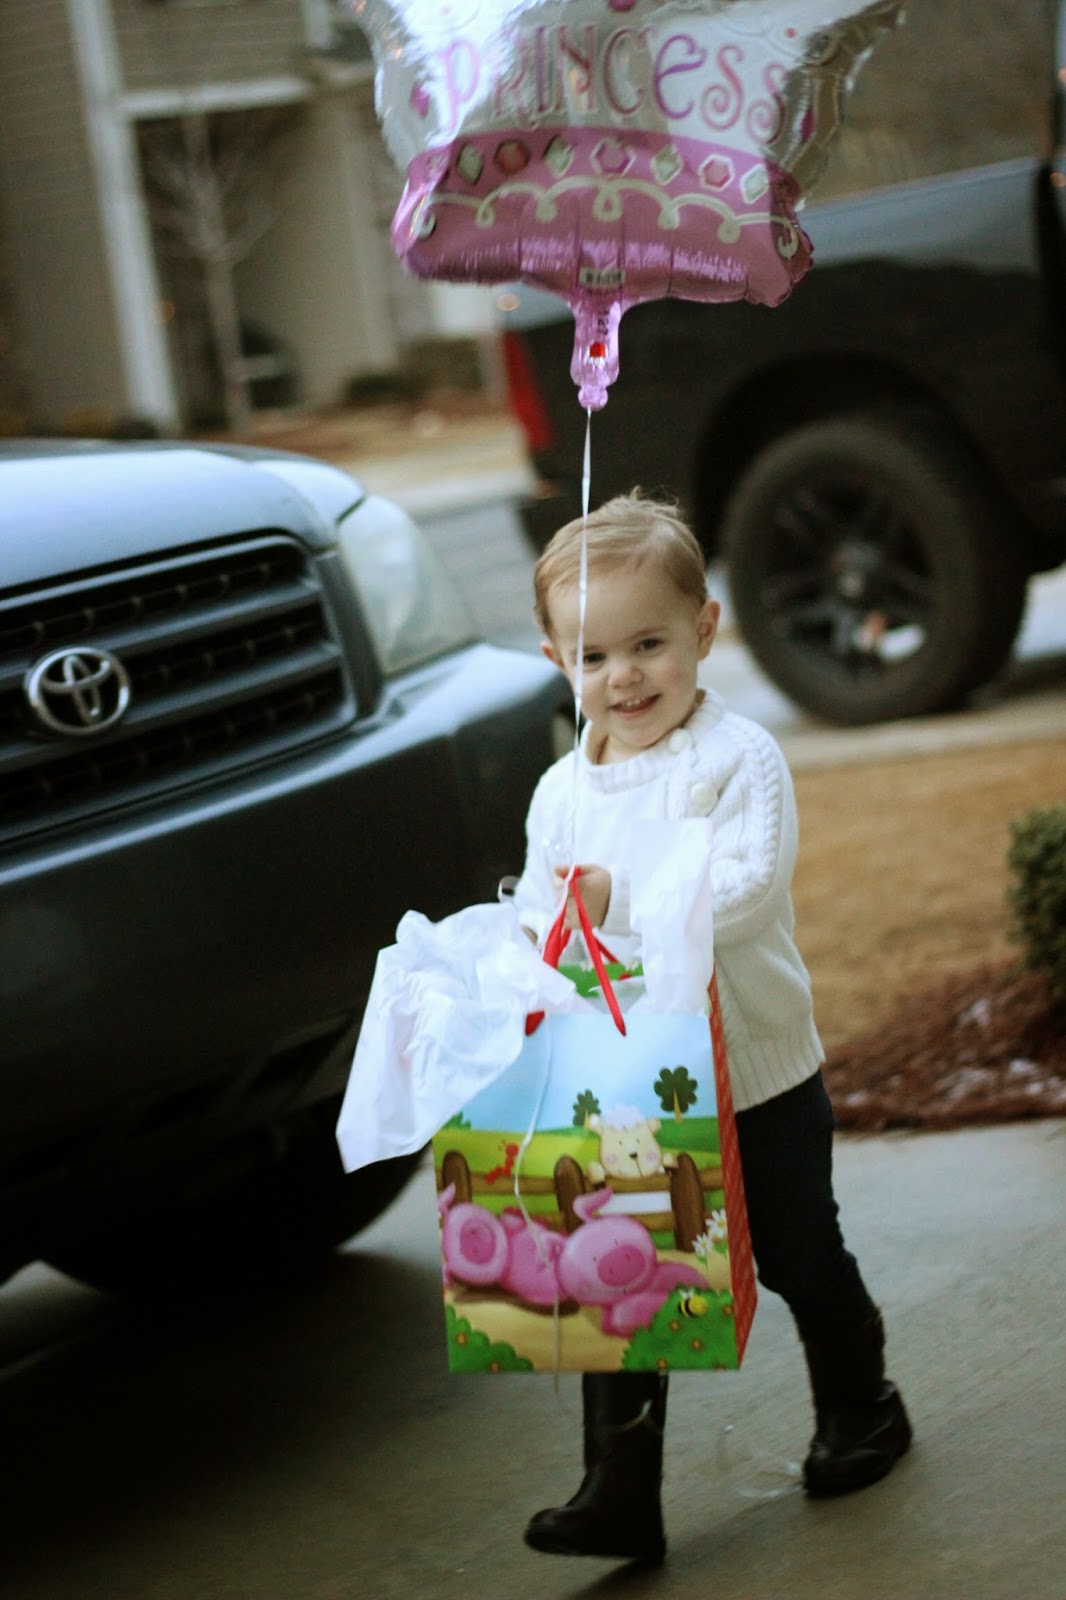
Today was also Gabby's FIFTH birthday. I still remember the night Jason brought her to the house and surprised me with her. Best. gift. ever. Love this fur baby.


Day 7: 3/2/2015


Maternity Pictures

Well, what was supposed to be family/maternity photos, shortly turned in to just maternity photos. Little-diva-baby-London was not cooperating in the least. In her defense, we did have to wake her up from her nap, but still. Mama needs pictures baby girl!! We did get a select few good shots of our little family of three, soon to be four.  These were taken November 11th, so I was about 25 weeks. Thanks to Brittany Dobbs of Dare To Be Different Photography. She's the bomb, y'all.


Cream Maxi: Rachel Pally

DIY Dresser Makeover With Annie Sloan Chalk Paint

Hey y'all! So, life has been busy. My last 'bump date' was at 19 weeks and here I am now at 38 1/2 weeks! 
37 weeks.
We haven't been as rushed to get this baby's nursery done, I guess because we now know that the baby won't be in there right away anyway. BUT, it would be nice to have everything done when she gets here, just less to worry about. EITHER WAY, I am so excited to share my first ever furniture make over. I have never painted furniture, taken drawers off of anything, or used chalk paint before. So this was all new to me, but super easy. I looked and looked for something I wanted but couldn't find anything, which led me to this DIY makeover.

Here is what I started with.

 Nothing too fabulous, right?
So I went out in search of the perfect colors of Annie Sloan Chalk Paint and ended up using Paris Grey, as well as the clear and dark waxes.


 I'm not sure how necessary it is to use the Annie Sloan wax brushes. They're pretty pricey and I am sure there are other brands that work great, but this brush was excellent! I used a regular paint brush for the actual chalk paint.

The best part of this process was NOT having to strip the paint and sand. Yes!!
I was nervous, so I applied a quick swipe just to see if I liked the color.


Still wasn't too sure, as obviously one swipe isn't going to give you that great of an idea. So I started painting. Here is the dresser after one coat.


And the dresser after a second coat with the cabinet doors removed.


Ill be honest and say I was scared at this point because I wasn't too crazy about it, it seemed to 'matchy matchy' to the wall color and bland, but I did NOT want to go and spend money on a new color and have to repaint it again. It wasn't going to happen. But I still needed to apply the clear wax and distress with the dark. So there was still hope…

When applying the clear wax, it doesn't necessarily change the color, but enhances it.
The bottom drawer is with wax, top drawer is without. Obviously the paint isn't completely even, but thats kind of how I wanted it. I wasn't going for 'Pottery Barn perfect' as some people say. The purpose of chalk paint is to get that kind of vintage messy look. Not clean and crisp.


After I finished applying clear wax all over, I let it sit for a few days. Some people will tell you to do this, some people will tell you its better to use the dark wax while the clear is still wet. But this prego mama of a wild toddler needed a break. So a break I took.

Here is the finished product and I couldn't be more happy. I did use A LOT of dark wax to get the wood stained look on the top. Its used more for distressing (which I did that too) so its still not completely set in to the paint, even to this day (about 2 weeks later).


Excuse the fact that I still need 3 more knobs on the bottom drawers, they didn't have enough when I bought them. Also, I bought 4 wire baskets to store diapers and wipes, stuffed animals, and either head pieces or blankets. Not sure which I will put in there. So, stay tuned for a full nursery reveal! Although it may be a while.

Have a great day!
xoxo
Charity